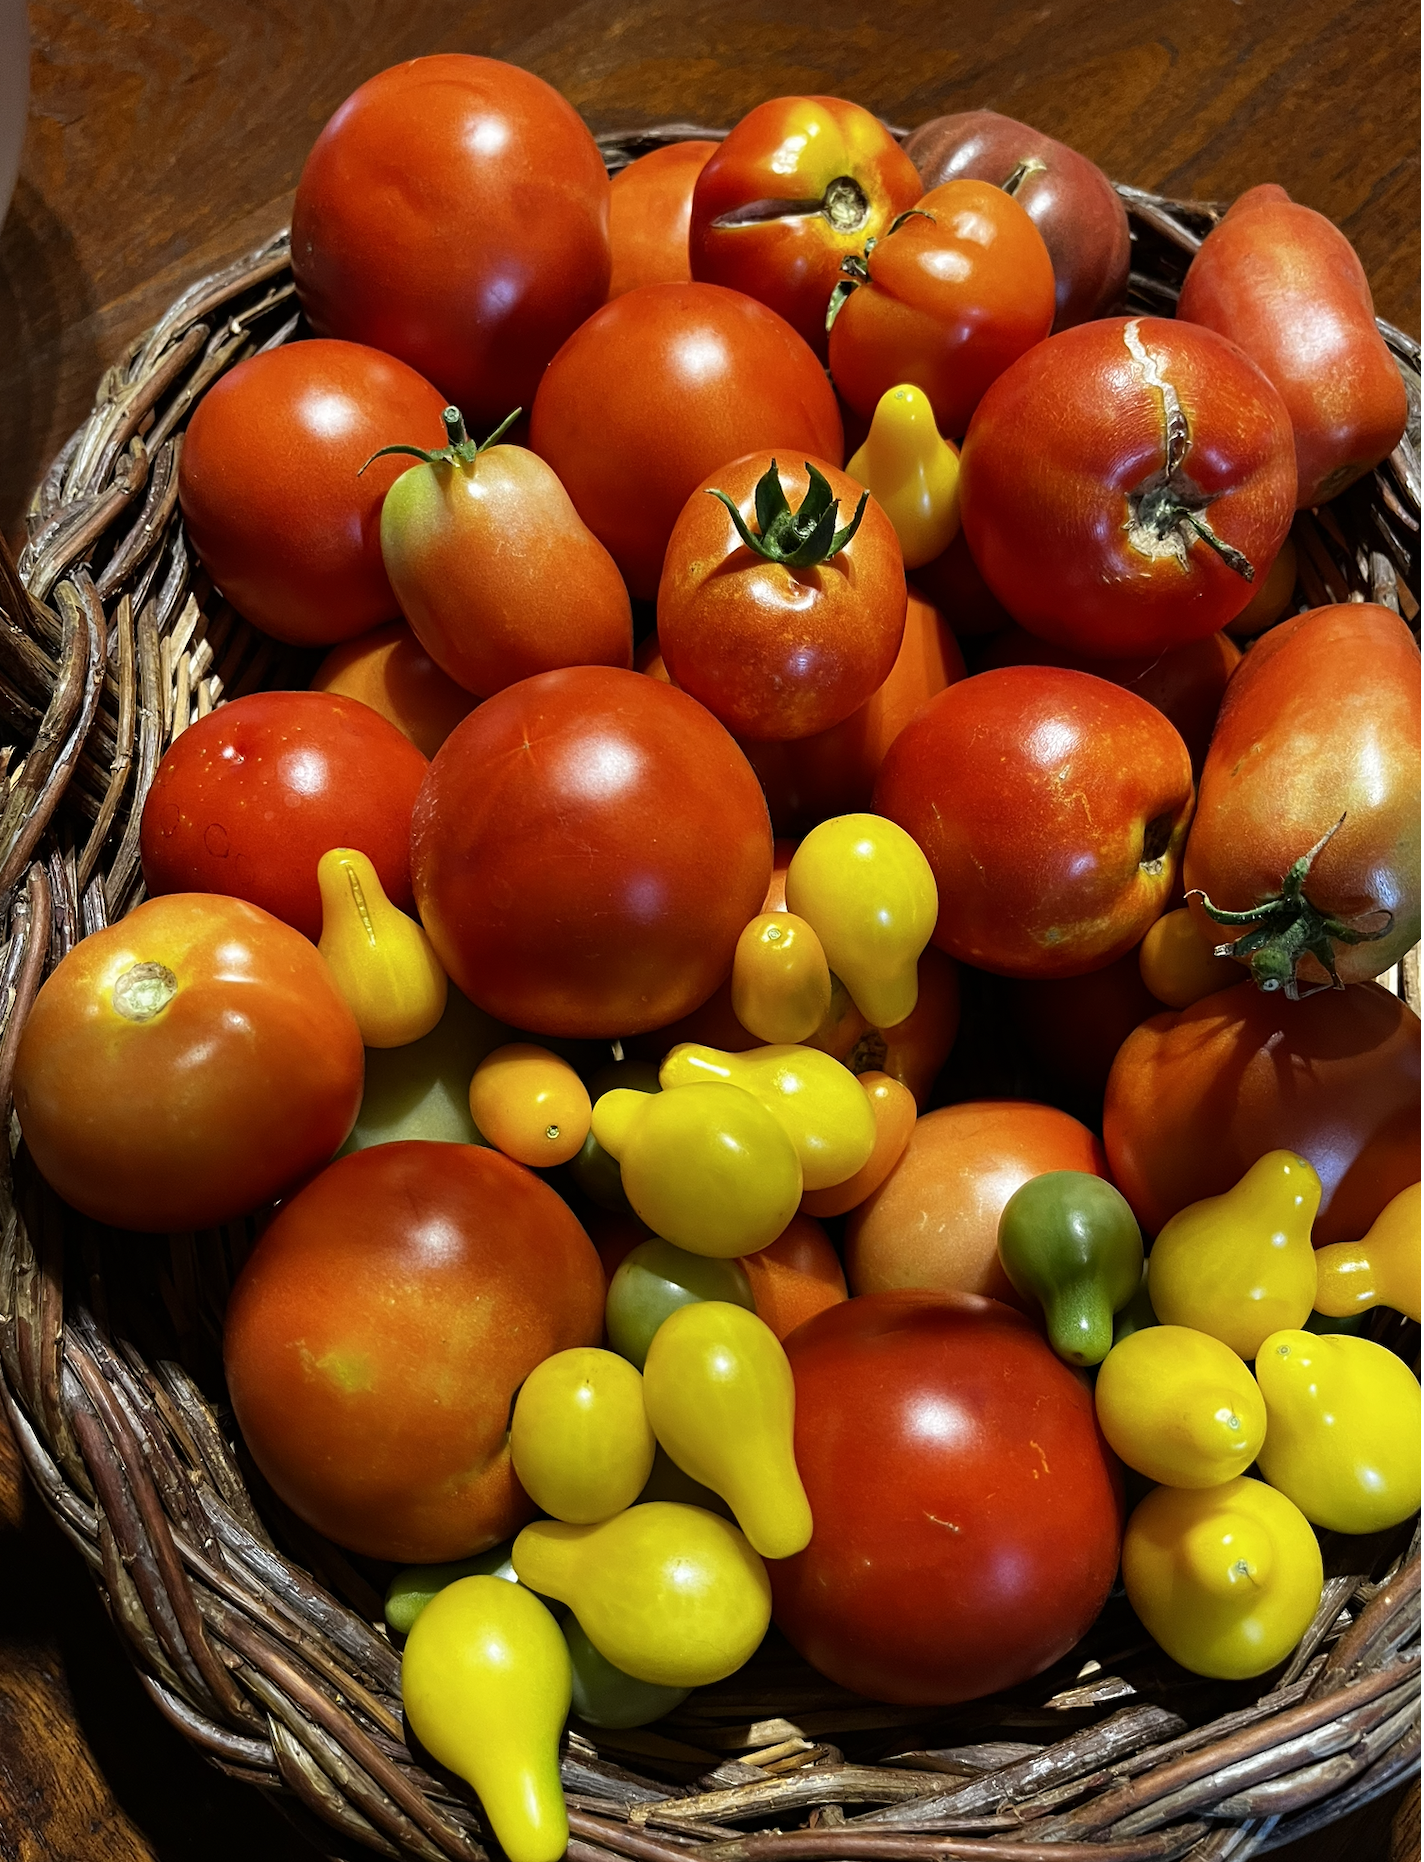
If you followed my adventures with garden shade [see “Kitchen Garden 2,” July 20, 2026] you will know that lovely red tomatoes seemed like an impossible dream back in mid-July. Now we have so many everyone who passes by for a visit gets to take some home and we drop off bags for Andrée. By early August, some days I was harvesting more than 6lb (close to 3kg) a day, which really adds up even if you give them away and make various tomato salads every night, as I did (see a few recipes below). I was planning to make some of the fantastic green tomato jam (chutney) that Nadine made last year, but I left for the US before we had green tomatoes that wouldn’t ripen (if we are stuck with them at the end of the season I’ll ask Walter to pop them in the freezer for me to use later—although the freezer is pretty full at this stage).

Now I am back in the States (until December, aside from a brief visit in October), Walter has instructions to keep inviting Andrée’s support team to stop by and pick tomatoes, basil, and peppers (we have a few bell, hot peppers, and “salad peppers,” but I also grew some very cute sweet drop peppers, a variety of Biquinho Peppers that we totally underutilized because we snacked/gorged ourselves on tomatoes). I will most definitely be planting those again next year, more than one plant so I can pickle them. I may plant them in pots by the door as I did a few baby tomatoes this year. It is so cool to grab a few to munch on as one walks around the village or gets into the car. Who needs candy?


But the tomatoes. I spent half an hour before we headed to the airport chopping and freezing one 6lb bag, with instructions for Walter (or our next round of visitors) to chop and freeze the bowl I didn’t get to. That is one of the lovely things about family/close friend visitors. The niece and her partner who arrived a few hours after the last one left chopped, froze, and also made tomato sauce while I was still on the plane back to the US (I gather they threw Walter out of the kitchen to stop him “advising” on the sauce). Earlier this summer my BIL and another long-standing family friend friend helped me chop tomatoes for salad and a sauce from Walter, and she and my nephew’s friend stripped baskets of basil to make pesto. That is also frozen in serving size portions minus the cheese following Marvi’s recipe [see August 3], although I sent my nephew’s friend back to Paris with a jar of ready-to-eat pesto and a few days later he sent me a picture of the feast he made with it. I love this life! I bought two of those jars back to the US with me, too, for a taste of home. So far I have only eaten it spread on sourdough, which is actually a really good way to eat pesto IMHO.
So, tomatoes. I leaned a lot this year, so figured I would distill it here for future reference. Long before I learned about shade I had to work out what to buy and how to plant them. I think I will buy the same again next year, although fewer plants. I did buy them already started, and I will do that again as I don’t seem to do very well with seedlings.
Varieties planted
(in the order you see them in this picture starting on the left below the peppers):


Yellow pear (French name unknown). Really prolific and very sweet, just like their American sisters. The plant was always laden with fruit, which we ate like candy (they were good green, too).
Carmello (first row of smallish reds), a traditional indeterminate French heirloom, “4-8 oz bright red, globe-shaped beefsteak tomatoes wth a classic, balanced sweet-and-acidic flavor.”

Saint Pierre (middle row), indeterminate, disease and crack resistant variety with “10-12 oz bright-red tomatoes with a a rich, sweet flavor. … among the most productive tomatoes ever bred” says the internet.
Andine Cornu (at the back of the row on the right). Native of the Andees, it looks like a pepper and tastes amazing. “Vigorous and productive; fruits have a melty, tasty flesh with virtually no seeds at all; easy to digest thanks to its very thin peel and low acidity.”

Noire de Crimee (front right) another indeterminate French heirloom, from the Crimean Peninsula, “large, dark reddish-brown to mahogany with a rich, slightly salty, and sweet flavor.” Not sure if they always crack, but these certainly did. Really tasty though and as you can as here, huge.
I planted all of them, in the weed mesh my sister suggested (see June 17, 2026) and was very glad I did, although once I live here full time I will try self-sustaining beds with mulch, I love being able to experiment.
Supporting the tomatoes
I’m including some of the information I wrote when I planted the garden [see June 17] because I disagree with some of it now I have been through a season and I also have some updates of what I would do in future. Apologies for the repetition.
Back in June I complained that I couldn’t get the cheap wire tomato cones / cages we tend to use in the US for tomatoes and peppers, at least those who grow them in pots as I did for years. In retrospect I realize they aren’t much use for climbing (“indeterminate”) tomatoes planted in the ground. So that is lesson #1. Although they would help for baby tomatoes and peppers so I still wish I had loaded a few into the moving truck. The fun thing about not having cones but having four of each kind of tomato, though, was that I could try different methods of support and see which worked best overall and if any was preferable for any variety. Here is what I tried:
Tomato Spirals

I remember when these were all the rage in the US. Apparently they still are here, and you can buy a spiral at E.Leclerc for €1.98. You put the spiral into the ground next to the tomato when you plant it and gently wrap the stem around the spiral as it grows.
Positives: Easy access to the fruit and very tidy. With no lateral branches, the plants take a lot less space and you can grow a lot of plants in a small bed with this method. Great for square foot gardening or planting in pots.
Downsides: You have to seriously prune the plant, basically cutting off all side branches so that one central stem can be wrapped around the spiral as it grows and put all of its energy into growing tall and producing fruit. Fewer leaves means less shade and if you don’t cut off those side branches it becomes too heavy and either falls over completely or needs additional support. The denuded plant looks sad to me, which is why I totally failed at the rigorous pruning required and they all started leaning dangerously.

Did it work? Not really.
As I have 4 of these I may use them again, but maybe I will put reflective windmills on the top. To be fair, I seriously failed at pruning when the weather was too hot to stay long in the garden, so I may not be ale to fairly judge, but judge I am. And where I did manage to prune, the single stem did not produce as many tomatoes as those I left to branch a bit for any of the varieties I tested.
Individual stakes

This is what most people do here, for good reason. It is cheap and easy and helps to save space. Put the stake into the ground next to the tomato when you plant it and just tie the plant to it as it grows taller (make sure to use a sufficiently tall stake).
Positives: Like the spiral, this is a space saver and a tidy way to keep your tomatoes in order. Probably the classic way to support tomatoes with good reason. You do ned to trim lateral branches or it can get too straggly and heavy, but if you are rigorous about leaf trimming that really helps. It is not as easy to access the fruit as the spirals, but there is more of it so it is a fair trade off.
Downsides: Once again, trimming lateral branches makes this easier, although you can also tie lateral branches to the stake to some extent (you are not trying to wrap the stem around the stake as you do with the spiral, just support them so there is more leeway, but branches can still be hard to tie). The main thing is to get poles that are tall enough and strong enough to take that weight. Forget those green plastic covered garden store posts. They look pretty, but they are expensive (even more so in France) and they bend and break under weight, especially in freak wind storms.

Did it work? Yup.
There’s a reason almost every gardener in SW France uses this method. This will be the way I go in the future, at least for the heavier fruits. I will invest in some treated 2×2 posts, maybe 10 foot (3 meters) so they can help support the shade cloth and still allow us to pass beneath them when sunk 2 feet into the ground (but Walter bought a stack of 8 foot tall rebar posts for me to use so I will use them as well. They worked well this year TBH! )
Cats cradle / Florida/California Weave

A TikTok and Instagram fave. I tried this method because I did not have enough stakes. Instead of one per plant, you put in a stake between plants 3 and 4 and tie twine between them, criss-crossing between each plant just like the kids cat’s cradle game. As the plant grows, you essentially build a trellis a few inches at a time. Hard to describe. HarvestSavvy has a longer description of the method and better pictures than mine.
Positives: In effect the string creates an espalier, allowing the fruit to grow sideways in two directions and up. I cut off lateral branches growing in front and back and just kept the side ones (you do have to loop them into the string as they grow). Because you have more branches you get more fruit and it is quite easy to access if you keep up with the pruning and twining and keep the string pulled tight as you go. You also get to keep more foliage, which just looks better and may be better for the plant. This is the cheapest way to support the plants — just a few rolls of strong jute or other string and one third as many posts. I think it looks pretty too. You end up with several hedges of tomatoes.
Downsides: This works best if the plants do not get too top-heavy and if you keep up with pruning and stringing. If not, it is a mess, the string sags and the plants sag too, forcing you to stake them individually or accept that they will just loll around on the ground (that is especially the case with heavy fruit like Noire de Crimee). The strings make it very hard to move around the garden, especially when the trellises get too high to step over.

Did it work? I was surprised by how well this worked TBH.
I will definitely do this again, but not for heavier tomatoes like the Noire de Crimee (or if I did it for them I would probably space the posts after every second plant — the string creates a different effect than simply attaching each plant to a post or spiral). I did some serious pruning in the early stages (although not as drastic as with the spiral) and the plants were quite forgiving when I went a week without paying them any attention. And I just like the way it looks.
Plastic cages

I invested in some of the flimsiest silliest plastic things I have ever purchased. Thank you Amazon. These were the same green plastic garden poles I bought as stakes but thinner and less than two feet long with plastic clips you could use to extend the poles. You put them in a triangle and then join them with plastic strips that hold the cone in shape and support the branches. Sorry I don’t have a good picture.
Positives: Um. Actually the side supports clip to the galvanized poles as well and are more stable than string so they could be useful if you put three metal poles in a triangle the way these were designed. But I probably wouldn’t. I think they might work with small bush tomatoes in pots.
Downsides: too flimsy. Not enough support bars. The uprights had to be too close together to use the cross pieces, crowing the plant without any benefits I could see. It was hard to get into the middle to prone the plants so mine got bushy and it was hard to het a the fruit. I thought these would work like metal cones. But they did not.

Did it work? Nope. I have them now so maybe I will try them with smaller pepper plants, although they can support themselves. Shopping fail! Don’t buy stuff online . . .
Other options
I did not try a solid frame with strings tied to the top that the plants grow up. This is the string version of the spirals but you loop the string around the main stem as it grows rather than vice versa. The plants grow high but the disadvantages of the spirals seem to apply. If I build a sold frame to support the shade cloth next year I might try this just to see how it works. It is very space saving — the tomatoes look like a row of climbing beans and I assume they are easy to harvest. But I just don’t find the look very appealing
And that’s all for now folks.
I may write a part 2 with recipes and a guide for freezing….. Let me know if you’d be interested in that!
Meanwhile, here’s an early picture of all the various staking methods at work before I had many tomatoes.
